
In this article, we will show you how to create a virtual machine on the Proxmox Virtual Environment hypervisor and install the Windows 10/11 or Windows Server 2022/2019/2016 guest operating system on it.
First, you need:
- Download the Windows Media Creation Tool (https://www.microsoft.com/en-us/software-download/windows10) and create an ISO installation image with the version of Windows that you want;
- Download the ISO image with KVM VirtIO drivers for Windows (https://fedorapeople.org/groups/virt/virtio-win/direct-downloads/stable-virtio/virtio-win.iso). This is a set of paravirtualized drivers for KVM/Linux that provide better performance for virtual devices than the built-in emulated drivers.
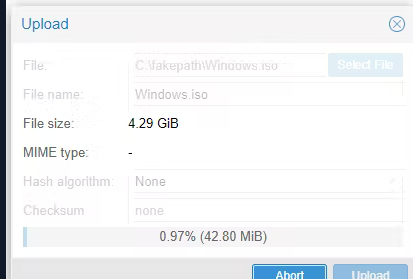
Upload both ISO files to the PVE storage.
Create a Windows VM on Proxmox VE
The next step is to create a new Proxmox virtual machine for the Windows guest operating system.
- Open the Proxmox VE web management interface (WAC) and click on the Create VM button;
- Set the VM name;
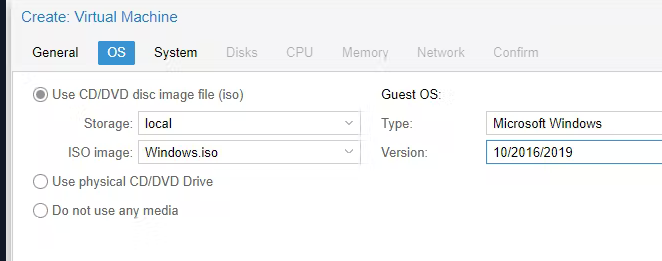
- Then go to the OS tab and select your Windows install ISO that you uploaded earlier. Proxmox should automatically detect the type of OS in the image and set the type of guest OS of the virtual machine (Microsoft Windows version 10/2016/2019);
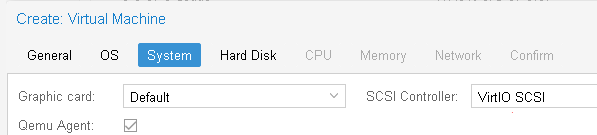
- Go to the System tab, enable the Qemu Agent option, and the VirtIO SCSI disk controller type;
- Then go to the Hard Disk tab and configure the virtual machine disk settings. Bus/Device: SCSI (IDE is used by default), Storage: select the Proxmox storage where the VM virtual disk will be placed, and specify the size of the virtual disk (at least 25 GB). Here you can choose between two types of virtual disks: raw (better performance) or qcow2 (advanced functionality and snapshot support). You can also pass a physical disk or USB flash drive into a virtual machine (Passthrough Physical Disk in Proxmox VE). Here you can enable the Write back cache and Discard options (This is similar to TRIM for SSD, designed to efficiently clean deleted data). This will improve VM performance, but there is a risk of data loss in the event of a power failure;
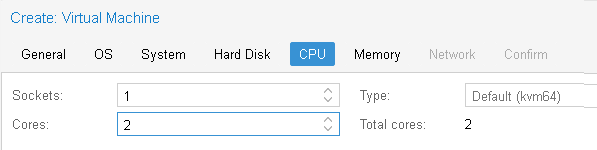
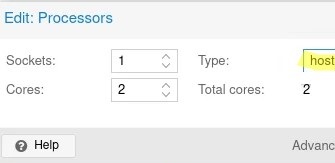
- On the CPU and Memory tabs, specify the number of processor cores you want to allocate to the virtual machine (at least 2 kvm64 core) and the amount of RAM (at least 2GB);
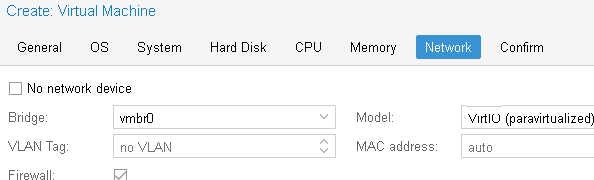
- Go to the Network tab. Select VirtIO (paravirtualised) virtual adapter type instead of Intel E1000. Disable the Firewall option if you want to use the built-in Windows Defender firewall in the guest operating system;
- Review the settings and click Finish to create the VM;
- Once you have created a new virtual machine in Proxmox for Windows, open its settings and add another CD/DVD drive. Mount the ISO file with the VirtIO drivers.
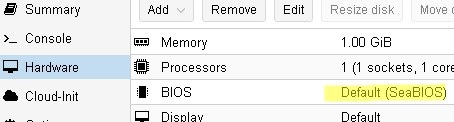
By default, the BIOS x64 emulator (SeaBIOS) is used as the firmware for the virtual machine.
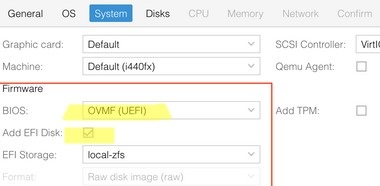
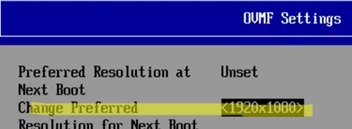
If you want to use UEFI firmware for the VM, change the BIOS type to OVMF (UEFI) and add an EFI partition for the VM (you can add it manually via Add -> EFI Disk, or enable the Add EFI Disk option when creating a VM).
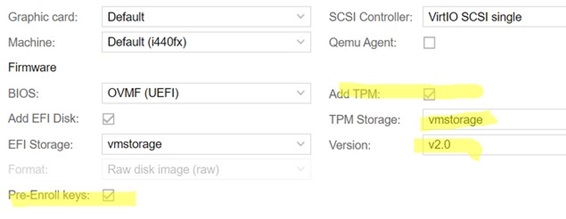
For Windows 11, you will also need to enable the TPM 2.0 module: tick the Add TPM option, enable the Pre-Enroll keys option, and select your PVE storage as the TPM storage.
If you plan to use WSL inside a Windows 10 or 11 virtual machine, you must enable nested virtualization support in Proxmox. To do this, change the type in CPU settings from default (kvm64) to host.
Install Windows as a Guest OS on a Proxmox VM
The Proxmox virtual machine is now ready to install the Windows guest operating system.
- Power on the VM by clicking Start. Press the Console button to open the virtual machine console screen;
- The Windows installation should start automatically;
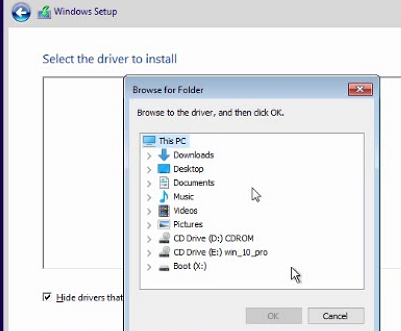
- The Windows Setup installer will not be able to detect your VM’s virtual hard drives. So you need to load the VirtIO controller driver. Click the Load Driver button and select your previously mounted VirtIO driver image;
- Install the Red Hat VirtIO SCSI pass-through controller driver (\amd6\vioscsi.inf);
- After installation, Windows 11 requires an Internet connection on OOBE to connect to a Microsoft account. You can load the Redhat VirtIO Ethernet Adapter network driver from the \NetKVM\w10\amd64 directory;
- After installing the hard disk controller driver, Windows Installer will see your hard disk and you can continue with the installation;
- Finish installing Windows on the virtual machine. Then install VirtIO drivers for the network adapters and other devices. open the Windows Device Manager (
devmgmt.msc). Right-click on the device, select Update Driver -> Browse my computer for driver software, and specify the path to the VirtIO driver image. You need to install at least the following drivers: Redhat VirtIO Ethernet Adapter (\NetKVM\w10\amd64), and VirtIO Balloon Driver (\Balloon\w10\amd64). For details, see the article Installing KVM VirtIO Drivers in a Windows Virtual Machine;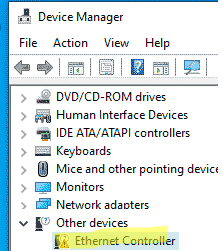
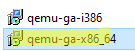
- After installing all the drivers, install the VirtIO Agent (\guest-agent\quemu-ga-x86_64.msi). This allows you to get information about the state of the guest operating system in the Proxmox hypervisor, similar to VMware Tools or Hyper-V Integration Services;
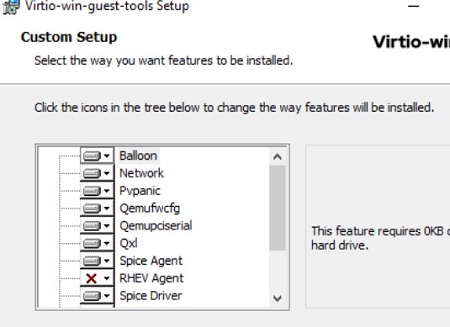
- Run the installation of the virtio-win-gt-x64.msi from the ISO image. Specify additional drivers and services to install.
Open a PowerShell console and check that the QEMU Guest Agent service is running on Windows:
Get-Service QEMU-GA
This completes configuring the Windows virtual machine on Proxmox. You can continue to configure Windows settings in the guest operating system (set hostname, network settings, install apps, join the device to the Active Directory domain, etc.).