
You can use self-signed certificates for internal use or testing of HTTPS web services. This means you don’t need to buy a certificate from a commercial CA or generate a free Let’s Encrypt certificate. This article describes how to use the OpenSSL tool to issue a self-signed certificate in Linux, bind it to the Nginx web server and add it to the trusted certificate list on the user’s computer.
In this case, I want to add to the certificate the full name webportal.loc and the IP address 10.10.1.24 .
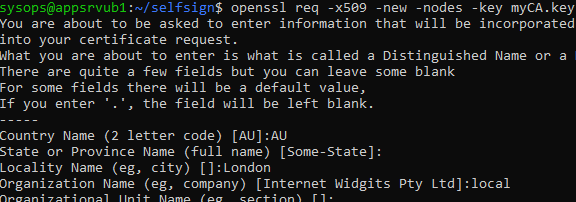
First, issue a key and certificate for your CA, which we will use to sign our self-signed certs:
# mkdir ~/selfsign && cd ~/selfsign
# openssl ecparam -out myCA.key -name prime256v1 -genkey
# openssl req -x509 -new -nodes -key myCA.key -sha256 -days 9999 -out myCA.crt
Answer a series of questions displayed by the tool. These can be answered freely.
Then issue your web-server’s key and certificate:
# openssl genrsa -out webportal.loc.key 2048
# openssl req -new -key webportal.loc.key -out webportal.loc.csr
Prepare the following certificate request file with settings:
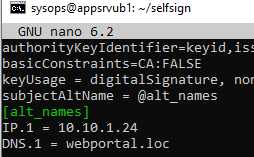
# nano webportal.loc.extauthorityKeyIdentifier=keyid,issuer
basicConstraints=CA:FALSE
keyUsage = digitalSignature, nonRepudiation, keyEncipherment, dataEncipherment
subjectAltName = @alt_names
[alt_names]
IP.1 = 10.10.1.24
DNS.1 = webportal.loc
Generate a self-signed certificate with a validity period of 5 years (1825 days).
# openssl x509 -req -in webportal.loc.csr -CA myCA.crt -CAkey myCA.key -CAcreateserial -out webportal.loc.crt -days 1825 -sha256 -extfile webportal.loc.ext
You are now ready to install the certificate and the key on the Nginx web server.
# mkdir /etc/nginx/certs
# cp webportal.loc.crt /etc/nginx/certs/.
# cp webportal.loc.key /etc/nginx/certs/.
Generate dhparam file for Nginx:
# openssl dhparam -out /etc/ssl/certs/dhparam.pem 2048Configure the certificate settings in the Nginx config for the target virtual host:
http2 on;

server_name   webportal.loc 10.10.1.24;

ssl_certificate /etc/nginx/certs/webportal.loc.crt;

ssl_certificate_key /etc/nginx/certs/webportal.loc.key;

ssl_dhparam /etc/ssl/certs/dhparam.pem;
Restart Nginx:
# nginx -t
# nginx -s reload
Copy a self-signed certificate to the specified directory and update the configuration to make it trusted on a Linux client computer:
# cp myCA.crt /usr/local/share/ca-certificates/.
# update-ca-certificates
If you need to add your CA’s self-signed root certificate to the trusted certificates on a Windows computer, copy it using the command
scp sysops@192.168.158.131:/home/sysops/selfsign/myCA.crt c:\ps\myCA.crt
Add the certificate to the user’s trusted certificate store:
certutil -user -addstore "Root" c:\ps\myCA.crt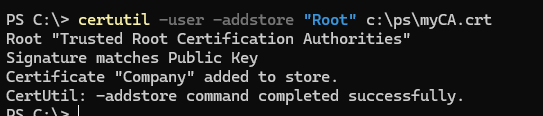
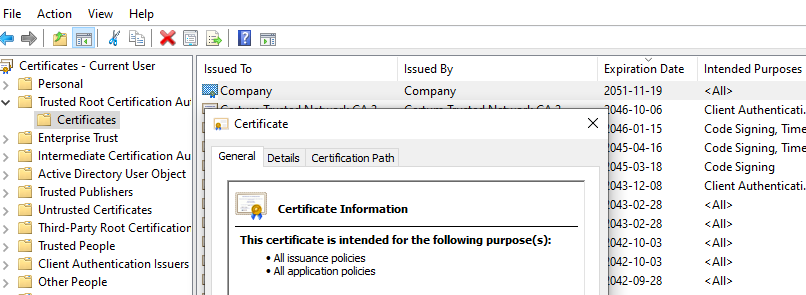
Open the current user certificate store console (certmgr.msc) and check that your root CA is now installed in the Trusted Root Certification Authorities store.
Now, when a client accesses a site (by name or IP) on the Nginx web server, it will assume that the self-signed certificate used is trusted and won’t display any warning.