
In this article, we will show you how to install and run Minikube in Hyper-V on Windows Server 2019. Minikube is a simple environment for creating a single-node Kubernetes cluster. It is great for getting to know with Kubernetes environment, experimenting, and educating your employees.
- Cross-platform. Major operating systems are supported (Linux, macOS, and Windows);
- You can deploy Minicube in a virtual machine, container, or bare-metal hardware;
- Docker support;
- Available drivers for all popular hypervisors (VMware, VirtualBox, Docker, KVM, Hyper-V);
- The latest versions of Kubernetes are supported;
- Available Docker API for fast image deployment;
- It is possible to use add-ons;
- Built-in support for Kubernetes Dashboard.
To run Minikube, your computer or VM must meet the following requirements:
- At least 2 Gb of RAM
- At least 2 CPUs supporting Intel VT or AMD-V, and SLAT
- At least 20 GB of disk space
- Internet connection
- Docker container or virtual machine on any of the supported hypervisor (VirtualBox, VMWare or Hyper-V)
In our example, we will be using Hyper-V on Windows Server 2019 to run Minikube. Create a new external virtual switch connected to a NIC with internet access:
Get-NetAdapter
New-VMSwitch -name ExternalSwitch -NetAdapterName "Ethernet 2" -AllowManagementOS $true! StartHost failed, but will try again: creating host: create: precreate: no External vswitch nor Default Switch found. A valid vswitch must be available for this command to run.
To install Minikube, you need to use a package manager. For Windows 10, winget (Windows Package Manager) can be used. In our case, for Windows Server 2019, we will have to use the Chocolatey. Open a PowerShell console, download and run the installation of the Chocolatey package manager:
iwr https://chocolatey.org/install.ps1 -outfile C:\install.ps1
c:\install.ps1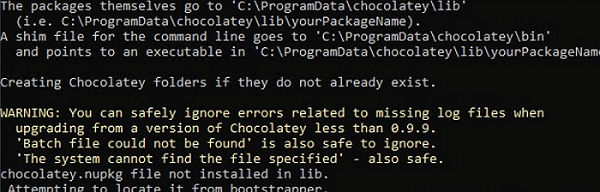
After installing Chocolatey, you can install the minikube package:
choco install minikube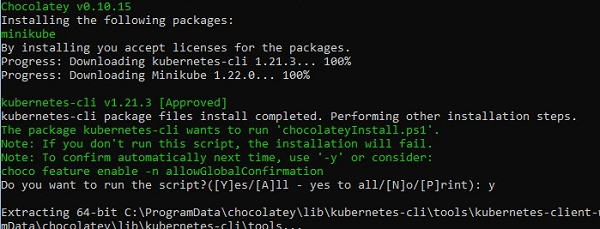
Install additional Hyper-V features:
Enable-WindowsOptionalFeature -Online -FeatureName Microsoft-Hyper-V -AllTry starting the minikube cluster:
minikube startIn my case, it turned out that the current version of Minikube doesn’t work with Hyper-V. So I had to downgrade the minikube version with the command
choco install minikube --version 1.6.2 --allow-downgradeThen delete the current cluster and re-create it:
minikube delete
minikube start
Make sure the minikube virtual machine is running:
Get-Vm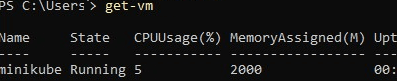
Check that the k8s environment is running:
kubectl get po –A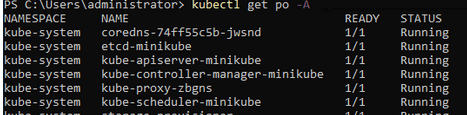
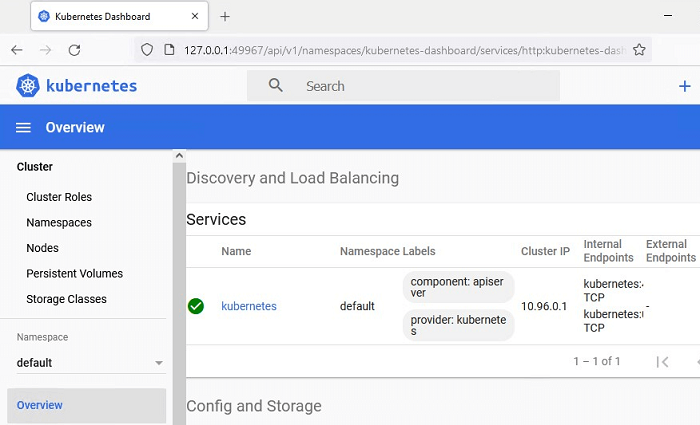
Start your web dashboard:
minikube dashboard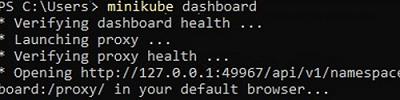
Open the specified link in a browser and check that you can connect to the Kubernetes dashboard.
To display information about the Kubernetes cluster:
kubectl cluster-infoList of running nodes in the cluster:
kubectl get nodesTo run the hello-minikube Docker image, run:
kubectl run hello-minikube --image=k8s.gcr.io/echoserver:1.4 --port=8080
kubectl expose deployment hello-minikube --type=NodePort --port=8080
kubectl get services hello-minikube
To stop the cluster, run:
minikube stop